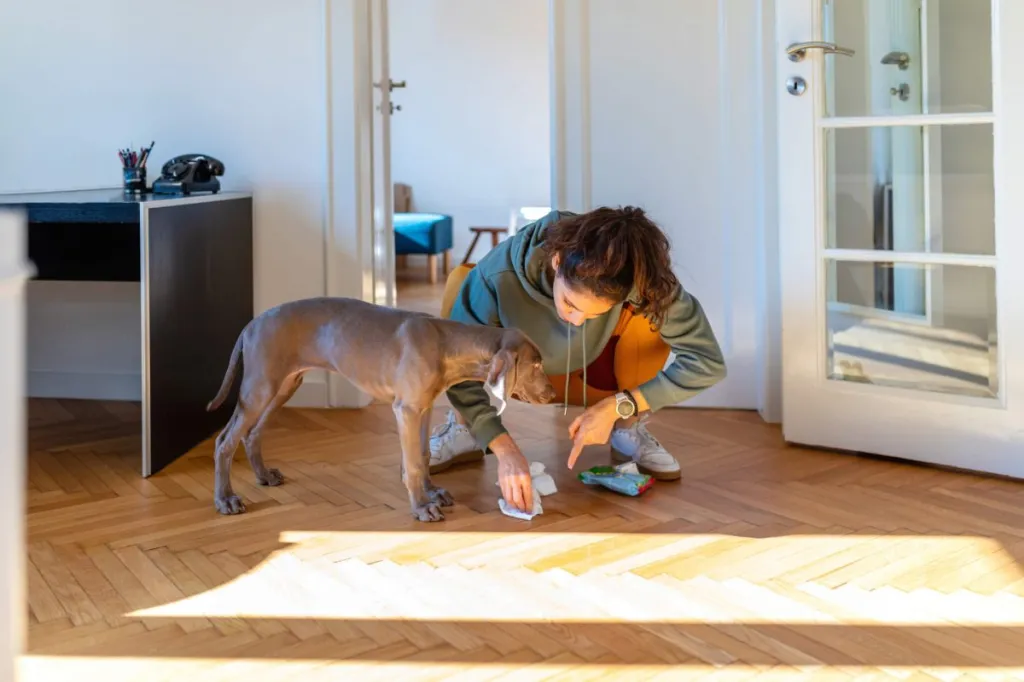
If you’re a pet parent, you’ve likely experienced the occasional “oops” moment from your furry friend. Whether you have a new puppy still learning the ropes of house training or an older dog who can’t hold it in at times, cleaning pet messes can be a real challenge. The unsightly stains and lingering smells not only affect the aesthetics of your home but can also pose health risks if not addressed promptly and properly. Fortunately, with the right knowledge and tools, you can tackle these messes efficiently. Below, we will walk you through proven methods and practical tips on how to clean dog pee, remove tough stains, and eliminate those pesky pet odors to ensure a clean and fresh environment for you and your canine companion.
How to clean dog pee from different surfaces?

Your pup might be the cutest thing on four legs, but let’s be real: accidents happen. Cleaning dog pee isn’t just about getting rid of the stain; it’s also about eliminating the odor to prevent repeat offenses. The key is to act quickly and choose the right method for the specific surface you’re dealing with.
Carpet and rug
Carpet fibers can be a magnet for dog pee, and if not cleaned properly, the smell can linger for ages. Here’s how you can clean pet urine on your carpet:
- Blot, don’t rub: Start by blotting up as much of the urine as possible using paper towels or a clean cloth. Press firmly but don’t rub, as this can push the urine deeper into the carpet fibers.
- Prepare a cleaning solution: Mix a tablespoon of mild dish soap with two cups of cold water. Alternatively, you can use a mixture of equal parts white vinegar and water.
- Apply the solution: Pour a small amount of your cleaning solution onto the stained area. Use a soft-bristled brush to gently scrub the carpet fibers, but don’t overdo it.
- Blot again: Use a clean, dry cloth to blot up the cleaning solution and any remaining urine. You may need to repeat this step several times until the area is as dry as possible.
- Rinse with water: Lightly rinse the area with cold water and blot again. The goal is to remove any remaining soap or vinegar solution.
- Use an enzymatic cleaner: For stubborn dog stains or lingering odors, apply an enzymatic cleaner designed for pet urine. These cleaners are specifically formulated to break down the proteins in the urine, making them highly effective at odor removal. Follow the instructions on the bottle. Usually, you’ll need to apply a generous amount to the affected area and let it sit for 10-15 minutes. During which time, be sure to keep your pets away from the surface being cleaned. Blot up the excess liquid afterward.
Couch
A pee-stained couch is no fun, but don’t worry — you can clean it without too much hassle. Here’s how:
- Blot the area: Just like with carpets, use paper towels or a cloth to blot up as much of the urine as possible.
- Check care labels: Before applying any cleaning solution, check the manufacturer’s care labels on your couch to ensure you’re using a safe method.
- Apply cleaning solution: If your couch fabric allows, use a mix of equal parts white vinegar and water. Alternatively, a commercial upholstery cleaner designed for pet stains can be used. Spray the solution on the stained area and allow the solution to penetrate the fabric for about 10-15 minutes.
- Blot again: Use a clean cloth to blot the area and absorb the cleaning solution and urine. Repeat until the area is no longer damp.
- Rinse and blot: Lightly rinse the area with a small amount of cold water, then blot again to remove excess moisture.
- Let it dry: Allow the couch to air dry. You can use a fan to speed up the process. A hairdryer on low or cool heat settings may also be helpful.
- Deodorize: Sprinkle baking soda over the area once it’s dry to help eliminate any lingering odors. Leave it for a few hours, then vacuum it up.
Mattress
Cleaning dog urine from a mattress requires a bit more care, but it’s definitely doable. To prevent the hassle, invest in a waterproof mattress protector which can simply be stripped from the bed and thrown in the washing machine. If your pups have an accident, you’ll realize the cover was worth every penny. Until you make that purchase, follow these steps to clean a urine-soaked mattress:
- Blot the area: As always, start by blotting up as much of the urine as possible.
- Apply vinegar solution: Mix equal parts white vinegar and water, then spray or pour a small amount onto the stained area.
- Blot again: Use a clean cloth to blot the vinegar solution, lifting as much liquid as possible.
- Sprinkle baking soda: Generously sprinkle baking soda over the damp area and let it sit for several hours, or overnight if possible. Baking soda acts as an odor neutralizer and will help to absorb any remaining moisture and odor.
- Vacuum thoroughly: Once the baking soda has dried, vacuum it up thoroughly. You may need to use an upholstery attachment to ensure all the baking soda is removed.
- Air out the mattress: If possible, place the mattress in a well-ventilated area or use fans to help it dry completely. This will prevent any residual moisture from leading to mold or mildew.
Hardwood floor
When it comes to hardwood floors, speed is your best friend. The longer the urine sits, the more it can soak into the wood, potentially causing stains and even warping.
- Blot immediately: As soon as you spot the pee, blot it up with paper towels or a cloth.
- Use a mild cleaning solution: Mix a few drops of mild dish soap with warm water. Dampen a cloth with the solution and gently clean the area. Avoid soaking the wood as excess water can damage it.
- Rinse with water: Dampen another cloth with clean water and wipe the area to remove any soap residue that your pet might otherwise lick up.
- Let it dry: Use a cloth to thoroughly dry the spot. You might also consider using a fan or an open window to speed up the drying process.
- Use a pet odor eliminator: If there’s a lingering smell, try a solution of hydrogen peroxide and water — 1:1 ratio — or a pet odor eliminator. Test it on a small, inconspicuous area first to make sure it doesn’t discolor the wood. Wipe the area and dry it promptly.
- Apply a wood cleaner: For an added layer of protection and shine, you can use a wood floor cleaner or polish. Follow the instructions on the product for the best results.
How to clean dog feces from different surfaces?
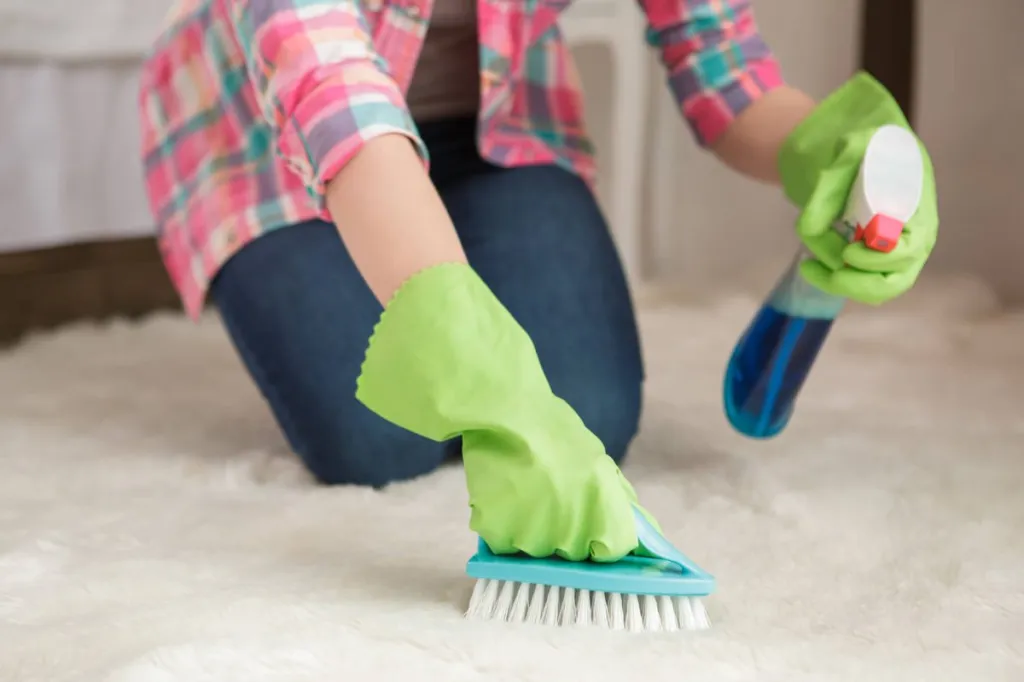
Beyond the obvious unpleasant odor and stain, dog feces can carry harmful bacteria, parasites, and viruses, such as E. coli and roundworms. If not properly cleaned, these pathogens can easily spread, posing health risks to both humans and pets. Moreover, lingering odors can attract your dog back to the same spot. As a result, proper cleanup is crucial not only for maintaining a clean living environment but also for preventing the spread of diseases.
Before diving into specifics for each surface, there are some general steps you should follow regardless of where the mess is:
- Pick up the solid waste: Put on a pair of disposable gloves and carefully pick up the solid waste using paper towels. Place the waste in a plastic bag and seal it tightly before disposing of it.
- Blot the area: If there’s any residue left, gently blot the area with paper towels or an old cloth. Avoid rubbing, as this can spread the feces and make it harder to clean.
- Apply an enzyme cleaner: Spray the affected area with a pet-specific enzymatic cleaner. Allow it to sit for the recommended time indicated on the product label.
- Scrub the surface: After the enzymatic cleaner has done its job, use a scrub brush or an old toothbrush to work the cleaner into the surface gently.
- Rinse and dry: Use a clean cloth dampened with water to rinse the area and remove any leftover cleaning solution. Blot the area dry with paper towels or a clean, dry cloth.
Now, let’s delve into the specifics for different surfaces.
Carpet and rug
- Deep clean: After the general steps, if your carpet is still stained or smells, mix a solution of water and a few drops of dish soap. You can also use a pet-safe enzymatic carpet cleaner again. Use a scrub brush to gently work the solution into the carpet fibers.
- Rinse: Dampen a clean cloth with plain water and blot the area to remove any soap residue.
- Dry: Use dry towels to soak up as much moisture as possible. You can also place a fan nearby or use a hairdryer on a cool setting to speed up the drying process.
- Vacuum or steam clean: Once the carpet is dry, vacuum the area to remove any dried particles or residue. This will also help fluff up the carpet fibers. For thorough cleaning, consider using a carpet steam cleaner. Fill it with water and a pet-safe carpet shampoo. Follow the machine’s instructions to deep-clean the area.
Couch
- Check the fabric: Always check the manufacturer’s label on your couch for specific cleaning instructions. Some fabrics may require special care.
- Spot clean: After following the initial steps, create a cleaning solution with mild dish soap and water. Use a soft-bristled brush to gently clean the area.
- Rinse: Dampen a clean cloth with plain water and blot the area to remove any soap residue.
- Dry: Pat the area with dry towels and let it air dry. Avoid sitting on the couch until it’s completely dry.
Mattress
- Deep clean: To deep clean your mattress after the initial steps, mix a solution of water and a few drops of pet-safe dish soap. Use a sponge or soft brush to gently clean the area.
- Rinse: Next, use a damp cloth to remove any soap residue. Be careful not to over-saturate the mattress.
- Deodorize: Sprinkle baking soda or a suitable pet odor eliminator over the cleaned area and let it sit for a few hours to absorb any remaining odors. If you’re using baking soda, make sure to vacuum it up afterward.
- Dry: Allow the mattress to air dry completely before putting any bedding back on. You can use a fan to speed up the process.
Hardwood floor
- Clean the surface: Once you follow the first steps, use a hardwood floor cleaner to clean the area. Avoid using too much water as it can damage the wood.
- Disinfect: Use a disinfectant suitable for hardwood floors to ensure the area is sanitized.
- Dry with a cloth: Wipe the area with a dry cloth to remove any cleaner and moisture.
- Polish the wood: If needed, you can polish the surface to restore the wood’s shine and protect it from future stains.
How to clean dog vomit from different surfaces?
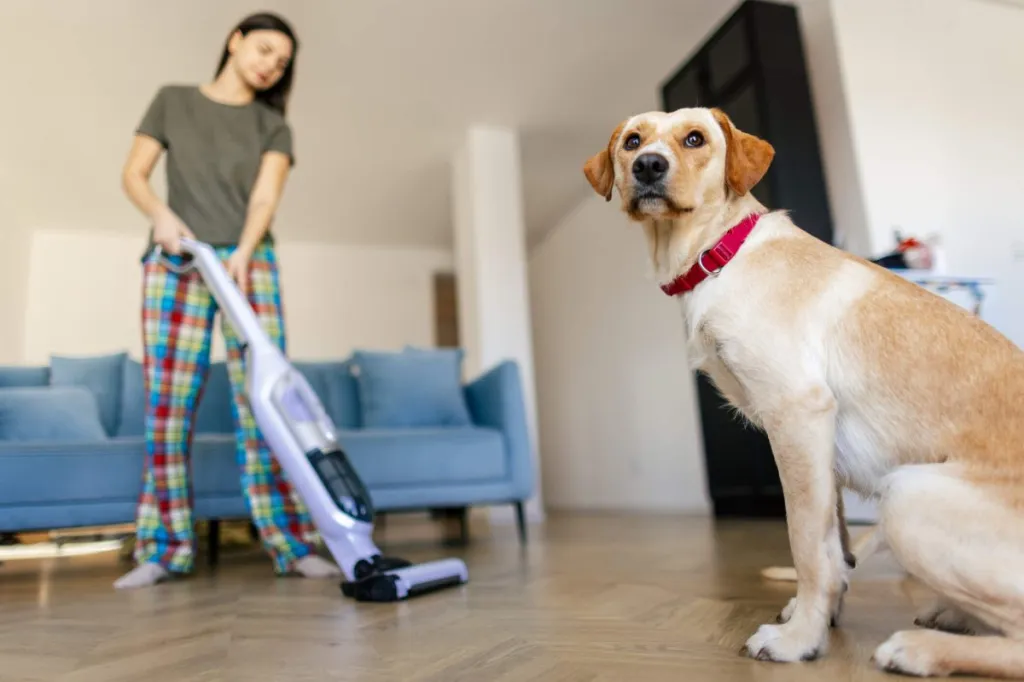
Alright, so your dog just got sick all over the place, and you’re staring at the mess wondering where to even begin. The first thing to do is to make sure your pup is okay. Sometimes vomiting is a one-off, but if your dog seems lethargic, is vomiting repeatedly, or has other symptoms, it’s best to call your vet right away. Once you’re sure your dog is stable, it’s time to tackle the cleanup.
Again, here are some basic steps to follow for all surfaces before you proceed with specific cleaning methods:
- Act quickly: As always, the sooner you start cleaning, the easier it will be to remove both the vomit and any stains.
- Remove solid matter: Wear disposable gloves and scoop up any solid parts of the vomit using a paper towel or a plastic bag. Be gentle to avoid spreading the mess.
- Blot the liquid: Use a clean cloth or paper towels to blot — not rub — the area, absorbing as much liquid as possible.
- Prepare a cleaning solution: You can make a simple but effective cleaning solution by mixing one part white vinegar with two parts water. Alternatively, you can also use a commercial enzyme cleaner for dog stains.
- Test for colorfastness: Before applying the cleaning solution, test it on a small, inconspicuous area to ensure it won’t damage or discolor the surface.
Now, continue with the steps below depending on where the mess is.
Carpet and rug
- Apply cleaning solution: After testing, apply the cleaning solution to the stained area using a clean cloth.
- Blot again: Gently blot the area to lift the stain. Avoid scrubbing, as it can damage the carpet fibers.
- Rinse: Dampen another cloth with plain water and blot the area to remove any cleaning residue.
- Dry: Use a dry towel to blot excess moisture, then let the carpet air dry.
- Vacuum: Once dry, vacuum the area to restore the carpet’s texture.
Couch
- Check the label: Before using any cleaning solution, check the upholstery tag for any specific cleaning instructions — like W, S, WS, or X codes.
- Apply cleaning solution: Dab the cleaning solution onto the stain with a cloth.
- Blot carefully: Gently blot the area, taking care not to oversaturate the fabric.
- Rinse: Use a damp cloth to remove any soap residue.
- Dry: Pat the area with a dry towel, then let it air dry.
Mattress
- Apply cleaning solution: After testing, lightly spray the cleaning solution onto the stained area.
- Blot the stain: Use a clean cloth to blot the area, removing as much of the stain as possible.
- Neutralize odor: Sprinkle baking soda over the damp area and let it sit for at least 30 minutes to neutralize any lingering odors.
- Vacuum: Vacuum up the baking soda using a handheld vacuum or an upholstery attachment.
- Air dry: Allow the mattress to air dry completely before putting any bedding back on.
Hardwood floor
- Apply cleaning solution: Dampen a cloth with the cleaning solution and gently wipe the stained area.
- Blot dry: Use a dry cloth to blot up any excess moisture. Hardwood floors can be sensitive to water, so be sure not to leave them wet for long.
- Inspect for damage: Check for any discoloration or damage. If the vomit has affected the finish, you might need to apply a wood-specific cleaner or polish.
- Buff the area: Use a soft cloth to buff the area, restoring the floor’s shine.
What is the difference between dog stain and odor removers?
Dog stain and odor removers might sound like they serve the same purpose, but they actually target different problems. Stain removers are specifically formulated to tackle the visible messes your dog leaves behind, such as urine, vomit, or feces. They often contain enzymes or other cleaning agents that break down the proteins and organic materials in the stains, making them easier to lift from carpets, upholstery, or hardwood floors. Their purpose is to eradicate the visual evidence and restore the appearance of your living space.
On the other hand, odor removers are designed to neutralize the smells that linger long after the initial clean-up. Even when a stain is no longer visible, the odor molecules can remain embedded in the fibers or surfaces, releasing an unpleasant smell over time. Odor removers work at a molecular level to neutralize or completely break down these smell-causing compounds, often using specialized enzymatic or bio-enzymatic formulas. This ensures that your home not only looks clean but smells fresh. It also prevents your pet from being attracted back to the same spot for repeat offenses.
That said, using dog stain and odor removers in tandem can provide the most comprehensive clean-up solution. Some products combine both capabilities, but it’s important to read the labels to ensure they meet your specific needs.
Types of pet-specific cleaning products
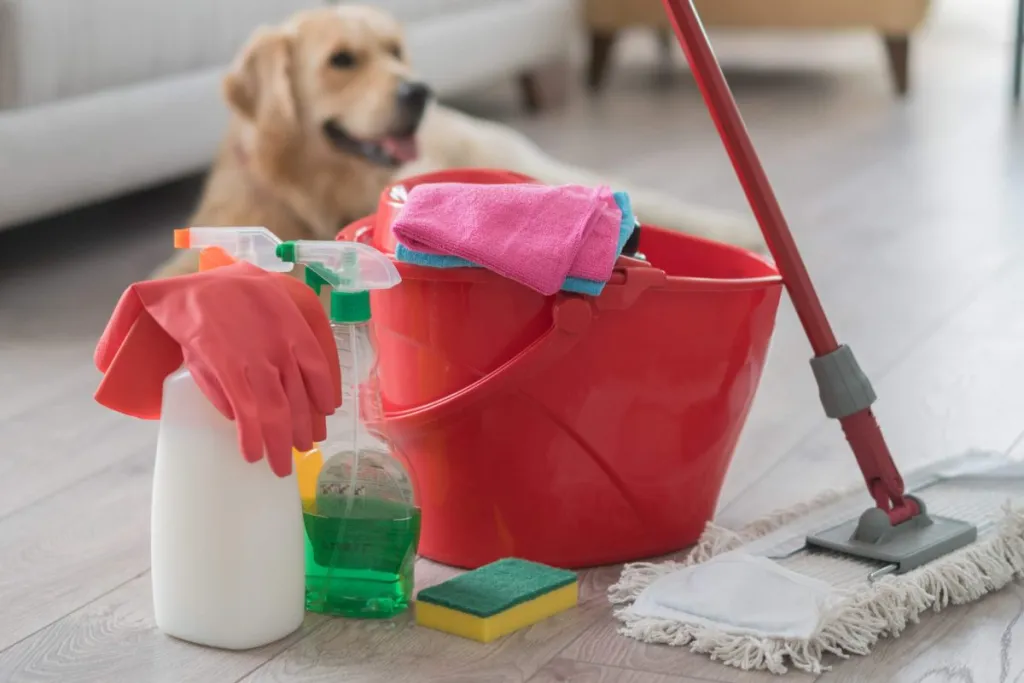
Two of the most popular and effective dog stain and odor removal products are enzyme cleaners and oxygen-based cleaners. Let’s understand how these work and when you might want to use one over the other.
Enzyme cleaners
Enzyme cleaners are a go-to solution for many pet parents, and for good reason. The enzymes in these cleaners are naturally occurring proteins that act as catalysts to accelerate the decomposition process. When applied to a soiled area, the enzymes break down the organic matter — like urine, feces, or vomit — into smaller particles, which are then consumed by bacteria. This dual-action process not only eliminates the odor but also removes the stain at the molecular level.
One of the major benefits of enzyme cleaners is their ability to target the source of the odor rather than just masking it. This makes them highly effective for deep-cleaning carpets, upholstery, and other porous surfaces where pet accidents often occur. They’re also safe for use around pets and children, as they typically contain non-toxic ingredients.
However, it’s important to note that enzyme cleaners can take some time to work. The enzymes need to stay moist and active to fully break down the organic matter, so you might need to reapply the cleaner or cover the treated area with a damp cloth to keep it from drying out too quickly. Despite this minor inconvenience, the long-lasting results are often well worth the wait.
Oxygen-based cleaners
Oxygen-based cleaners utilize the power of oxygen to remove stains and eliminate pet odors. These cleaners usually contain hydrogen peroxide or another oxygen-releasing compound that breaks down into water and oxygen when applied to a soiled area. The released oxygen molecules then oxidize the organic material, effectively neutralizing the odor and lifting the stain.
Unlike enzyme cleaners, which require time to fully break down organic matter, oxygen-based cleaners work almost instantly to eliminate odors and stains. This makes them a great option for immediate results, especially for fresh spills or messes.
On the downside, oxygen-based cleaners may not be as effective for deeply ingrained dog odors or older stains. Additionally, some oxygen-based products can have a bleaching effect, so it’s crucial to test them on a small, inconspicuous area before applying them more broadly.
How to prevent dog stains and odors?
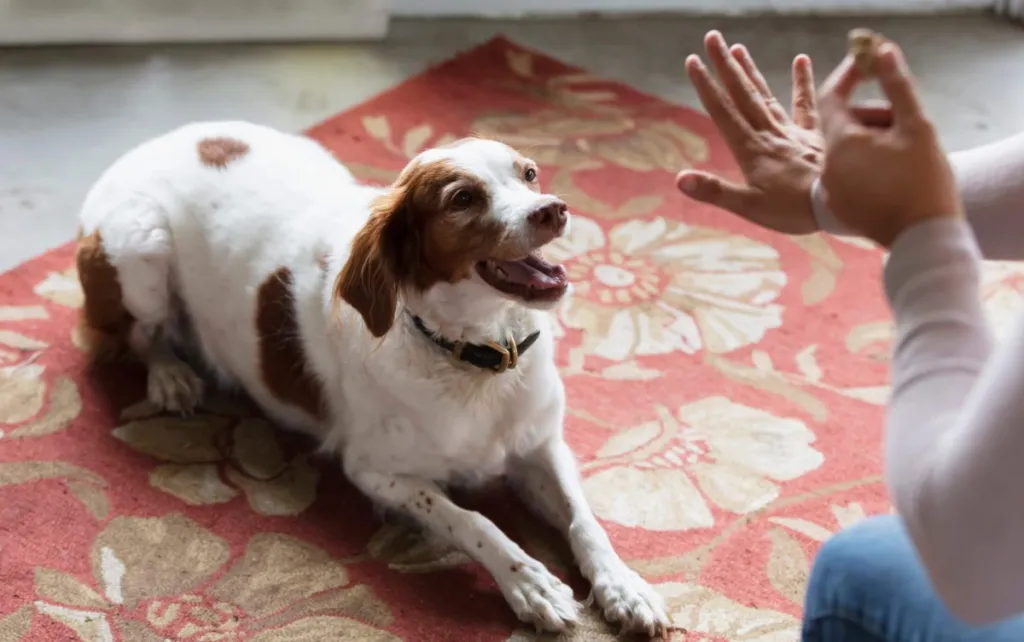
Between the muddy paws, occasional accidents, and that distinct doggy smell, things can get a bit messy, especially if you have a particularly rambunctious pup. However, there are several strategies you can implement to prevent dog stains and eliminate pet odors from developing in the first place.
- Train and reward: House training is crucial. Positive reinforcement can go a long way in teaching your dog where it’s okay to go and where it’s not. The more consistent you are, the fewer messes you’ll have to deal with in the long run.
- Regularly groom your dog: One of the best ways to keep your house clean is to keep your dog clean. Regular baths, brushing, and nail trims can significantly reduce the amount of dirt and hair your dog brings into the house.
- Ensure sufficient outdoor time: Daily walks and outdoor playtime give your dog ample opportunities to relieve themselves outside and reduce pent-up energy that might otherwise result in indoor accidents.
- Feed your pup a healthy diet: Believe it or not, what your dog eats can impact how they smell. A high-quality diet tailored to your dog’s specific needs can reduce the smelliness of their fur and breath. Plus, fewer digestive issues mean fewer accidents.
- Air out your home: Good ventilation can make a world of difference. Open windows, use fans, and consider air purifiers to keep the air in your home fresh. Regularly cleaning your dog’s bedding and toys can also help keep odors in check.
Cleaning up after your furry friend might not be the most glamorous part of being a dog parent, but it’s all part of the package. Remember, patience is key. Training takes time, and accidents happen. However, with the right expertise and supplies, you’ll be able to handle anything your pup throws your way.
